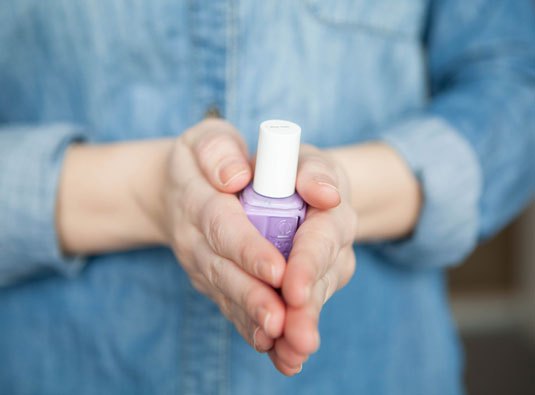
Eila wearing Essie Lilacism
It’s a pleasure to introduce my friend Eila Shargh, an expert on nail care, nail polishes, and at-home manicures. When I first met her I noticed her long lashes, super white teeth, totally enviable pretty-girl good looks, and really nice nail-salon nails. Later on I learned that she’s kind of a kick-ass person in general and that we have eerily similar Nordstrom wishlists. In the next two posts Eila will share the tips and tricks she’s learned from years of accumulating nail polish (she has over 200) and doing her own nails. Take it away Eila!

Oh, hello there!
On a trip to Vancouver, I had met the fabulous Jenny through Bahram, who has been friends with my boyfriend since High School. After bonding over her amazing taste in handbags and shoes, she discovered my unhealthy obsession with nail polish and graciously extended an invite to write a guest post on tips-and-tricks for Stuff I Love.
I’ve always had an obsession with long, beautiful nails. Unfortunately, I was cursed with extremely thin nails that would either tear, crack or split before they could grow long. The only way I could get my nails to grow is to make sure they were painted with either a clear coat or color. During grad school, as a means of procrastination and entertainment, I painted my nails every few days, read countless blogs and watched a shameful amount of YouTube tutorials. I’ve finally learned what worked for me to get the long, beautiful nails I always wanted and, hopefully, what I’ve learned could help you too!
1. Prior to painting your nails, make sure your hands are free of lotions, oils and any chemicals that could serve as layer between your nail and any polish. You can use rubbing alcohol on a cotton swab or the Formula X Nail Cleanser to make sure your nails are extra clean. Keeping your nails clean also helps minimize any bacteria that could get in the bottle (gross!) and oxidize your polishes faster (boo!).
2. Shaking the bottle adds bubbles that show in your manicure. Rather than shaking the bottle, roll it between your hands (unless you like the bubbly texture (; ).

Manicure tip: Roll your nail polish between your hands
3. Apply your base coat. Run your brush across the edge of your nail. Then take a single stroke up the middle of your nail. Go back to the base of your nail and swipe along the curve of your nail towards one side. Do the same on the other side. These graphics break it down perfectly:
I actually prefer to do #6 first to avoid chunky edges
4. Follow the same steps for your color and top coat. I usually only do 2 coats of color unless the formula is really thin/liquidy or the color is very opaque.
5. Make sure you leave a small space between the polish and your cuticle to minimize any lifting along the edges.
6. Before applying your top coat, make sure the color is completely dry. If your top coat is a little goupy, using it on top of color that isn’t fully dry will cause streaking.
Do you have any questions for Eila? Ask her in the comments below! Stay tuned for the next post, where Eila will tell us the best nail products on the market. She’s tried them all, so make sure you check back!
Products mentioned in this post:

 JavaScript is currently disabled in this browser. Reactivate it to view this content.